
this is what the printed out templates should look like (above)

for more pictures check out : http://www.curbly.com/users/diy-maven/posts/13758-how-to-make-a-cardboard-chandelier
Template 1: http://www.etsy.com/blog/en/files/2012/04/Chandelier_templates-11.jpg
Template 2: http://www.etsy.com/blog/en/files/2012/04/chandelier-template2.jpg
Template 3: http://www.etsy.com/blog/en/files/2012/04/Chandelier_templates-3.jpg
MATERIALS:
-Cardboard (you need a medium-large box)
-Tape/ Super Glue
-Paint (Acrylic)
-Paint Brush
-Razor/Scissors
-Strong Wire (to hang the Chandelier)
-Glitter or any other decorating material (optional)
PROCEDURES:
1. print the templates in full size
2. Follow the instructions on each template
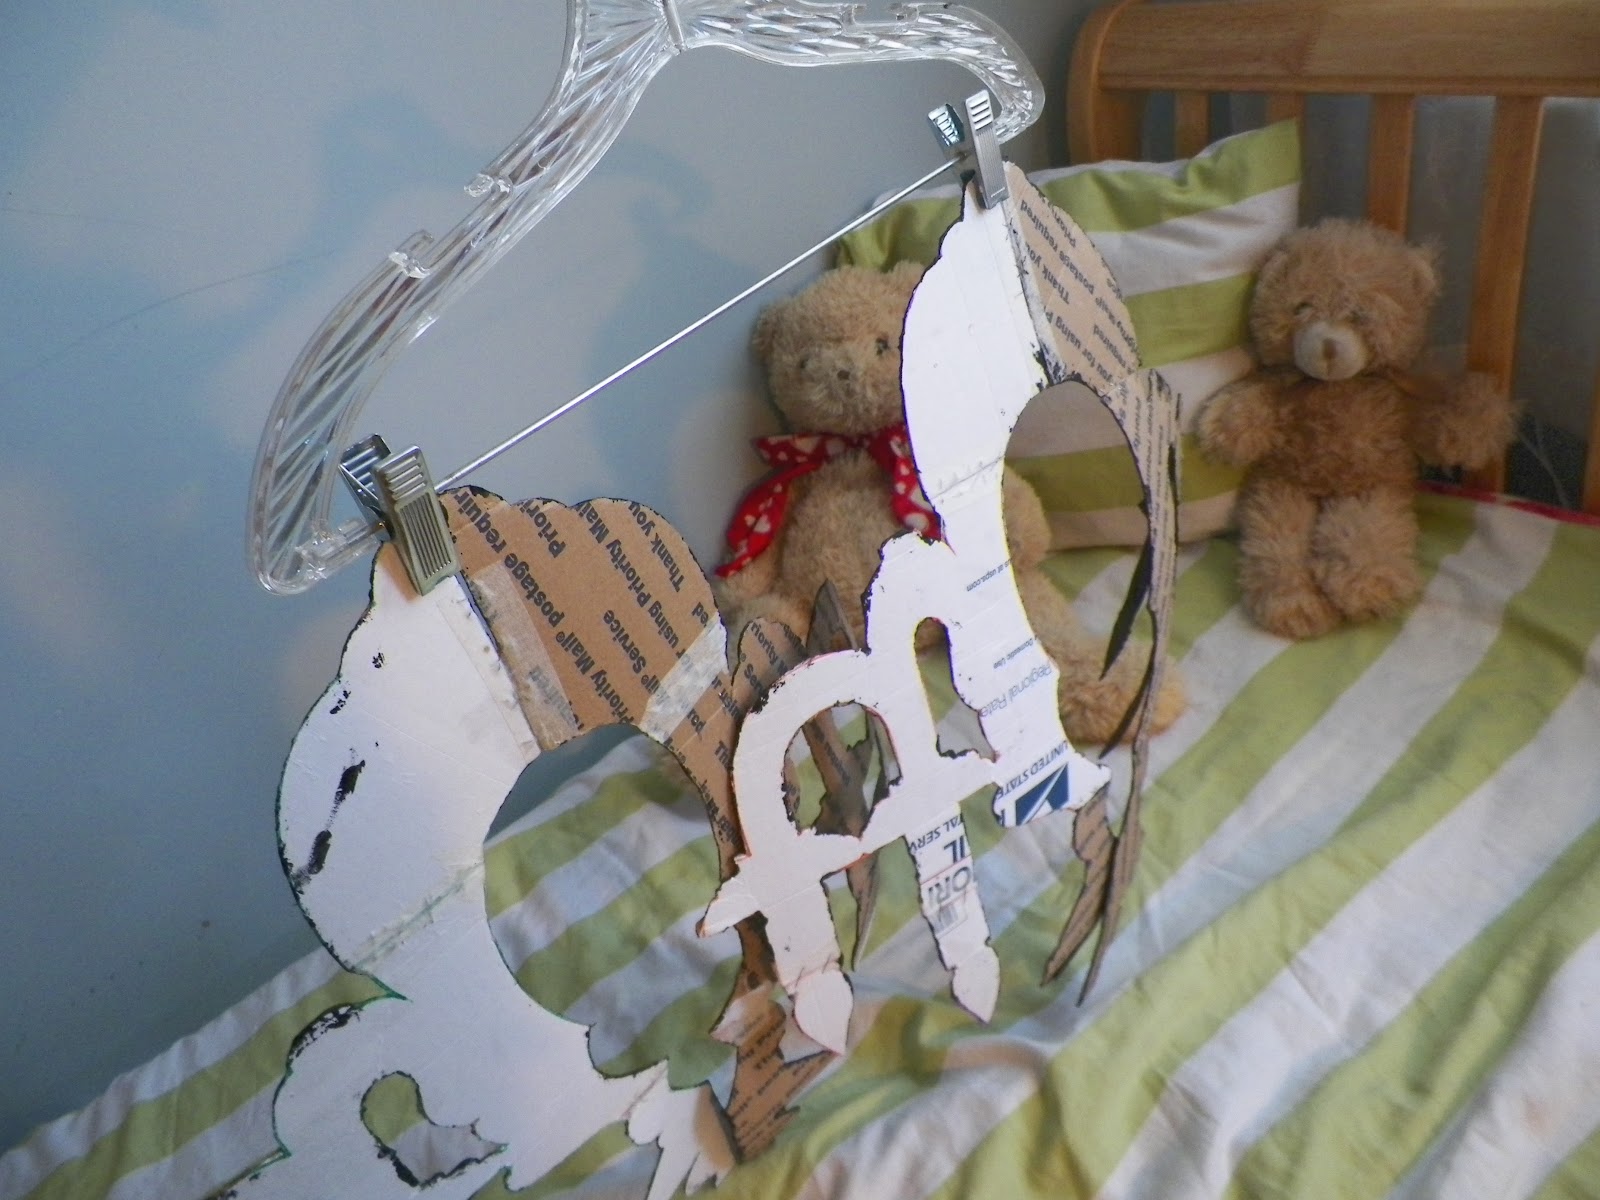
3.. flatten out your cardboard box, trace the templates.
4. cut out the tracings with a razor or scissors
5. tape or glue the traced and cut cardboard pieces together
6. find a clear area to work, spread newspaper or grocery bags to keep your area clean and take out a paintbrush, begin painting your chandelier.
7. wait for it to dry, make sure you do both sides and fit the two chandeliers sides together
8. use hot glue gun or super glue to stabilize it, use strong wire to hangup the chandelier
PLEASE COMMENT WITH YOUR FEEDBACK, ASK ANY QUESTIONS YOU MAY HAVE, PLEASE FOLLOW MY BLOG.
-click on the ads to help support my blog and youtube channel.
No comments:
Post a Comment