Showing posts with label D.I.Y- Recycle Paper. Show all posts

Saturday, June 02, 2012

D.I.Y- Redo Oatmeal Can with Fashioned Duck Tape

currently using it to store cords (below)


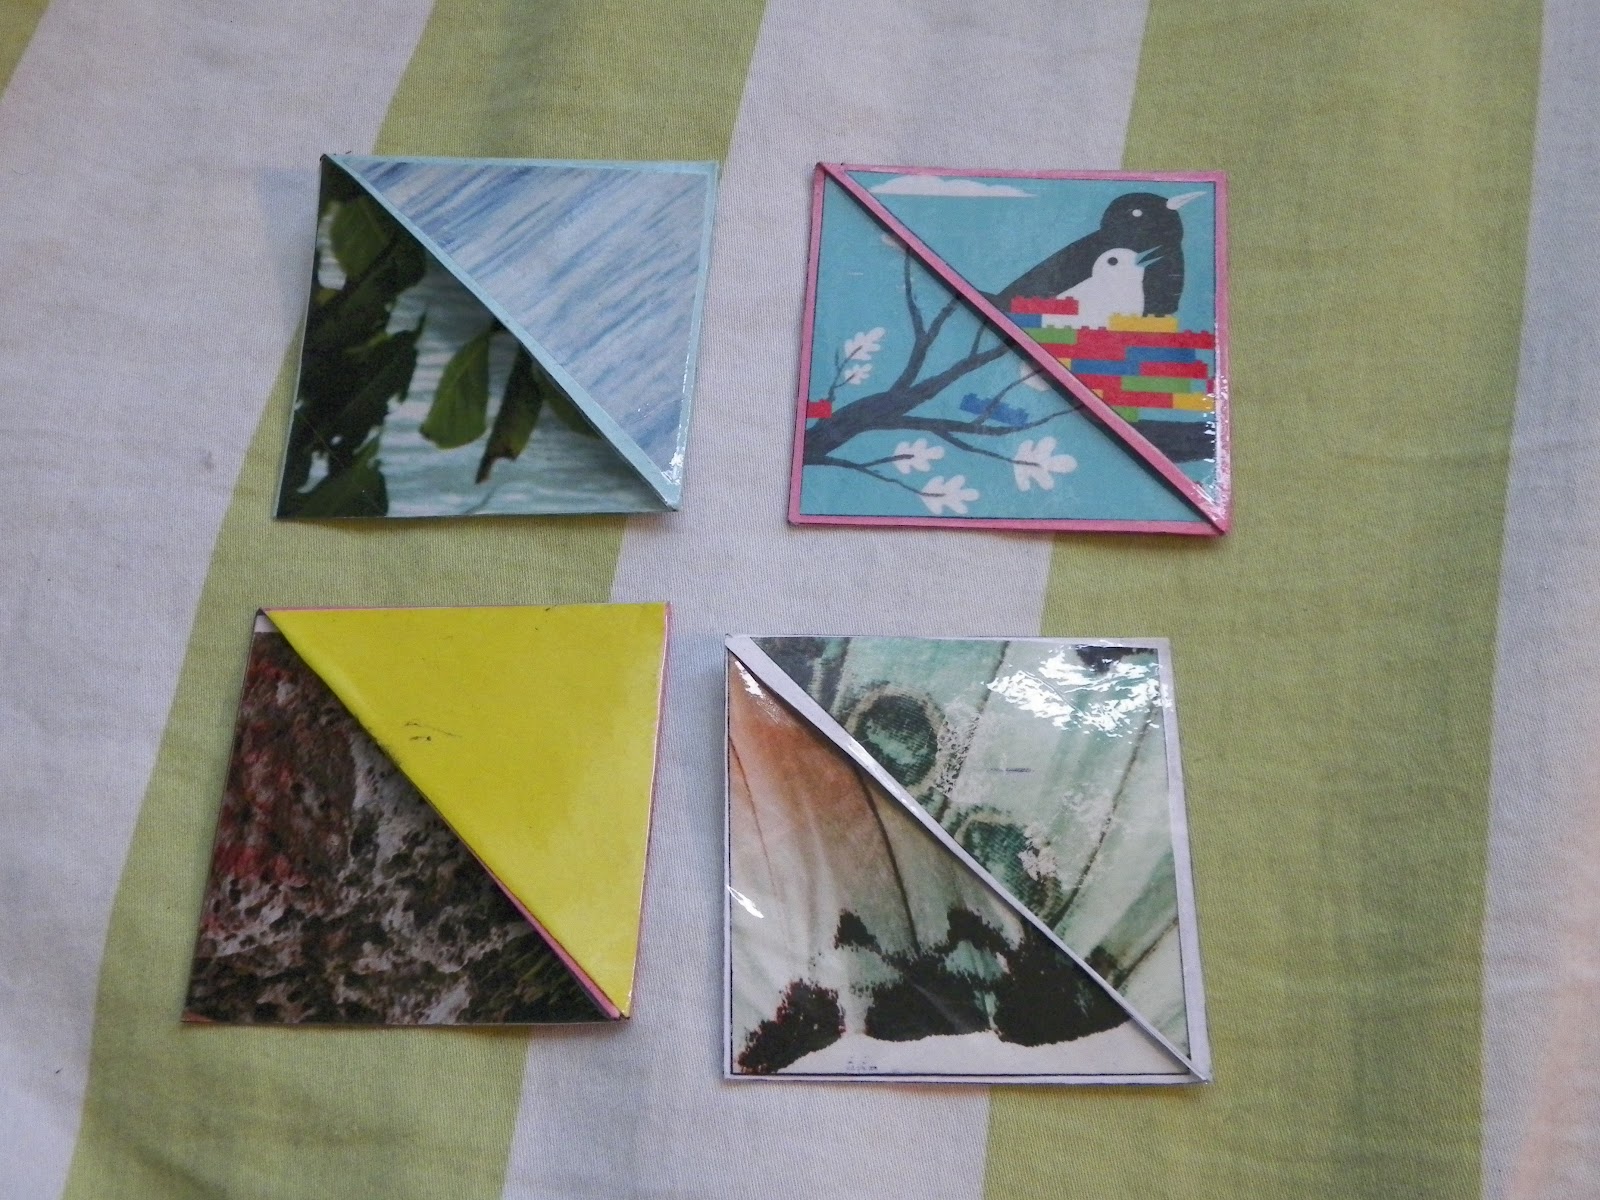
DIY- Corner Bookmark


-Tutorial coming up..will post a youtube video soon

MATERIALS:
-Paper/ Cardstock Paper
-Magazine, Decorative Tape, Contact Paper, Decorative Paper (Use this to decorate your Paper/Cardstock Paper)
- Pencil/Pen (to mark up the paper that you will then cut accordingly
- Ruler
-Razor/Scissor
-Clear Tape (optional) (I used it to tape the corner bookmark to add durability)
-Glue 

PROCEDURES:

-coming up soon


plz comment with your feedback and questions. Plz follow my blog.


-plz help support my blog and my youtube channel by clicking on the ads on the side of the posts.  

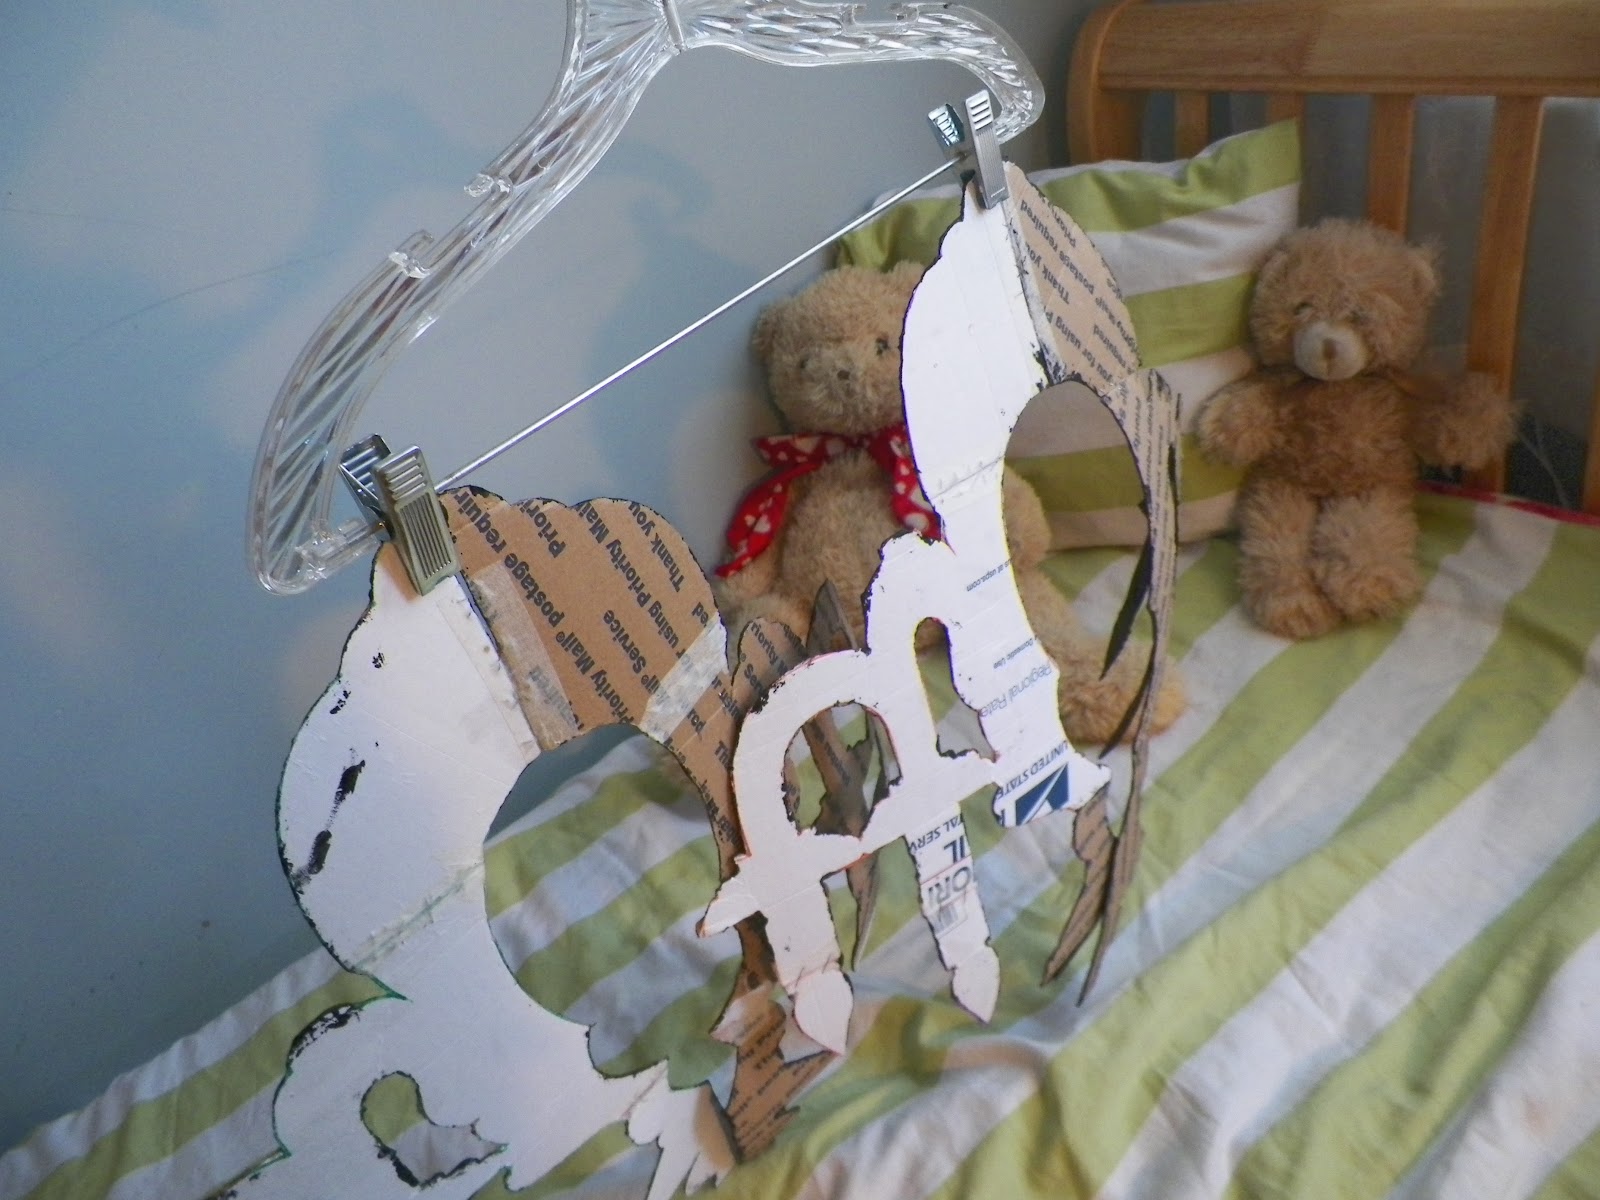
How to Make a Cardboard Chandelier


this is what the printed out templates should look like (above)
 

STILL IN PROGRESS, PAINTING THE BACK OF THE CHANDELIERS, ONCE DONE, I WILL POST A PICTURE;)
                    Template 1: http://www.etsy.com/blog/en/files/2012/04/Chandelier_templates-11.jpg 
                    Template 2: http://www.etsy.com/blog/en/files/2012/04/chandelier-template2.jpg
                    Template 3: http://www.etsy.com/blog/en/files/2012/04/Chandelier_templates-3.jpg
MATERIALS:
-Cardboard (you need a medium-large box)
-Tape/ Super Glue
-Paint (Acrylic)
-Paint Brush 
-Razor/Scissors
-Strong Wire (to hang the Chandelier)
-Glitter or any other decorating material (optional)

PROCEDURES:
1. print the templates in full size
2. Follow the instructions on each template
3.. flatten out your cardboard box, trace the templates.
4. cut out the tracings with a razor or scissors
5. tape or glue the traced and cut cardboard pieces together
6. find a clear area to work, spread newspaper or grocery bags to keep your area clean and take out a paintbrush, begin painting your chandelier. 
7. wait for it to dry, make sure you do both sides and fit the two chandeliers sides together
8. use hot glue gun or super glue to stabilize it, use strong wire to hangup the chandelier


PLEASE COMMENT WITH YOUR FEEDBACK, ASK ANY QUESTIONS YOU MAY HAVE, PLEASE FOLLOW MY BLOG. 


-click on the ads to help support my blog and youtube channel. 

Monday, February 13, 2012

Make a small Notepad out of Old paper scraps

  • Material Used:
  • Scrap of Paper (mixtures of graph paper, computer paper, loose leaf paper etc).
  • Old String (optional)
  • Old Hollister Coupon (that is what I used because of the cute dog, you can use anything such as a hand drawn picture or a hand drawn design or any picture
  • Tape
  • Stapler with Staples 

Recycle Paper- Decorate anything with cool Retro Checker Pattern


Weave paper, magazines, newspaper, etc into awesome and unique retro checker patterns of any size. have a variety of different sizes of strips of paper for different effects. hang it up on your wall, decorate notebooks, binders, anything.


<----- a pad holder, can be used as a post-its holder or money/ coin holder just add a zipper
made with weaving magazine strips together on top of a cardboard paper and then taped into the desired formation.
the taping laminates it and makes it more durable
a tutorial will be made shortly